Spring Annotation
新浪微博
- 缓存击穿问题,过年红包,怎么没有穿透
- 系统绝对不会只让一个人去维护
- 戏子当道,前途堪忧
- 商女不知亡国恨,隔江犹唱后庭花。
预期效果
- 掌握 Annotation 驱动开发
- 更好的理解 Spring Boot 特性
- 重视 Java 基础和规范
大家出现断层,Spring Boot 和 Spring 有一点断层。
议题
- Annotation 装配
- Web 自动装配
- 条件装配
Features
- Create stand-alone Spring applications
- Embed Tomcat, Jetty or Undertow directly (no need to deploy WAR files)
- Provide opinionated ‘starter’ dependencies to simplify your build configuration
- Automatically configure Spring and 3rd party libraries whenever possible
- Provide production-ready features such as metrics, health checks and externalized configuration
- Absolutely no code generation and no requirement for XML configuration
You can also join the Spring Boot community on Gitter!
独立运用,
条件装配
没有XML
Annotation 驱动
- 替代 XML 装配
- 优势
- 不足
Annotation 具有一定的硬编码的模式,因为 XML 可以替换,但是 Annotation 的模式,就不好替换了。
xml
1
2
3
4
5
6
7
8
9
10
11
12
public class XmlConfigBootstrap {
    public static void main(String[] args) {
        ClassPathXmlApplicationContext context =
                new ClassPathXmlApplicationContext();
        context.setConfigLocation("classpath:/META-INF.spring/context.xml");

        context.refresh();
        User user = context.getBean("user", User.class);

        System.out.println(user);
    }
}
1
2
3
4
5
6
7
8
9
10
@Configuration
public class UserConfiguration {

    @Bean(name = "user")
    public User user(){
        User user = new User();
        user.setName("darian-annotation");
        return user;
    }
}
Annotation
1
2
3
4
5
6
7
8
9
10
11
12
13
14
15
16
17
18
/***
 * Annotation 配置引导类
 * 替换 XML 配置
 */
public class AnnotationConfigBootstrap {
    public static void main(String[] args) {
        AnnotationConfigApplicationContext context =
                new AnnotationConfigApplicationContext();

        // 需要注册一个 UserConfiguration 的 Bean
        context.register(UserConfiguration.class);

        context.refresh();
        User user = context.getBean("user", User.class);

        System.out.println(user);
    }
}
Annotation 的方式,不是简单的 if else 相当于组装而进行暴漏,而是不需要 XML 组装来进行暴漏,而由相应的源信息来进行暴漏,由框架将我的元信息放到我的相应的映射里边去。就是通过一种声明式的方式去表达语义。
XML 中,查找比较方便,
Annnotation 没有对应的归属。不好查找。
Spring MVC 经典的类
而且是访问的时候才去加载的。
org.springframework.web.servlet.DispatcherServlet
org.springframework.boot.autoconfigure.web.servlet.DispatcherServletAutoConfiguration自动装配的。
1
2
// 访问的时候,
registration.setLoadOnStartup(this.webMvcProperties.getServlet().getLoadOnStartup());
不用 Spring Boot 自动将 DispatcherServlet 加载进去。
Spring 可以兼容 Tomcat,Netty 很多容器,可以达成一种兼容并包的体系。
Servlet 、fiter、Listener 都可以进行配置。
Spring 里边 定义一个 ServletRegisterBean 通过 Spring 的生命周期进行回调的时候,用 Servlet API 动态的生成一个自己的注册器。这个注册会和你的配置项,比如说你的 UrlPattern URlMapping 进行关联·,最终还是调用的 ServletAPI 里边的东西。
Programmatically adding and configuring Servlets
编程式的添加和配置 Servlet 。
Programmtacally adding and configuring Filter
Spring Boot 自动装配。
Spring-boot-start-web 一旦引入,那么就可以自动加载。
生命周期,我需要在合适的时间把相应的东西加载进去。
javax.servlet.ServletContextListener
1
2
3
4
5
6
7
8
public interface ServletContextListener extends EventListener {
    // 初始化,快启动之前,
    default void contextInitialized(ServletContextEvent sce) {
    }
	// 销毁
    default void contextDestroyed(ServletContextEvent sce) {
    }
}
javax.servlet.ServletContainerInitializer
1
2
3
public interface ServletContainerInitializer {
    void onStartup(Set<Class<?>> var1, ServletContext var2) throws ServletException;
}
如果你把把代码放到 WEB-INF/lib 下边实现一个可插拔的,当你容器启动的时候,有一个 #onsStartup() 方法,会把 ServletContext 上下文注入进来,容器启动的时候,方法会进行回调,回调的时候,ServletContext 还没有初始化完成,
可插拔式的,
Spring Security 里边有 , Spring MVC 也有
-
javax.servlet.ServletContainerInitializer#onStartup()当容器启动时Spring Web 实现:
org.springframework.web.SpringServletContainerInitializer -
javax.servlet.ServletContextListener#contextInitialized()当 Servletcontext 初始化的时候,调用。#contextDestroyed()
容器启动的时候,都会调用 onStartup() 方法,
org.springframework.web.context.ContextLoaderListener
配置在 web.xml
1
2
3
4
5
<web>
    <webapp>
    	<listener>org.springframework.web.context.ContextLoaderListener</listener>
    </webapp>
</web>
通过 XML 的形式加载的。
Spring Boot 是怎么进行自动加载的!!!
Spring Boot 没有告诉你为什么,假设你知识全部了解了。
Spring Web 实现
SpringServletContainerInitializer
- onStartup 第一个参数是
Set<Class<?>>关心的类对象,Spring 会默认的扫描WEB-INF/classes和WEB-INF/lib-> 两个目录就是我们的 classpath,假设你的 classpath 有一万个类,所以就是有选择地类加载进来。
@HandlerTypes 可以决定哪些类可以装载。
1
2
3
4
5
6
7
8
9
10
// 选择关心地类以及派生类
@HandlesTypes(WebApplicationInitializer.class)
public class SpringServletContainerInitializer implements ServletContainerInitializer {

    ...
        	@Override
	public void onStartup(@Nullable Set<Class<?>> webAppInitializerClasses, ServletContext servletContext)
			throws ServletException {
    }
}
以 Spring Web 为例,它 关注的 WebApplicationInitializer 的子类。WebApplicationInitializer 是个接口
org.springframework.web.context.ContextLoaderListener
org.springframework.web.WebApplicationInitializer
org.springframework.web.context.AbstractContextLoaderInitializer
这个方法会去注册一个 #registerContextLoaderListener(ServletContext) 是去注册一个 ServletContextListener
org.springframework.web.WebApplicationInitializer - > ContextLoaderListener
org.springframework.web.servlet.support.AbstractDispatcherServletInitializer -> DispatcherServlet
org.springframework.web.servlet.support.AbstractAnnotationConfigDispatcherServletInitializer -> Config + DispatcherServlet
就是配置+ 注册
WebApplicationInitializer
ContextLoaderListenerAbstractDispatcherServletInitializerAbstractAnnotationConfigDispatcherServletInitializer
1
2
3
4
5
6
7
8
9
10
11
12
13
14
15
16
17
18
19
20
21
22
23
24
25
26
27
28
29
30
31
32
33
34
35
36
37
38
39
@HandlesTypes(WebApplicationInitializer.class)
public class SpringServletContainerInitializer implements ServletContainerInitializer {
    @Override
    public void onStartup(@Nullable Set<Class<?>> webAppInitializerClasses, ServletContext servletContext)
        throws ServletException {

        List<WebApplicationInitializer> initializers = new LinkedList<>();

        if (webAppInitializerClasses != null) {
            for (Class<?> waiClass : webAppInitializerClasses) {
                // Be defensive: Some servlet containers provide us with invalid classes,
                // no matter what @HandlesTypes says...
                // 不是接口的, 不是抽象的。
                if (!waiClass.isInterface() && !Modifier.isAbstract(waiClass.getModifiers()) &&
                    WebApplicationInitializer.class.isAssignableFrom(waiClass)) {
                    try {
                        // 继承 WebApplicationInitializer
                        initializers.add((WebApplicationInitializer)
                                         ReflectionUtils.accessibleConstructor(waiClass).newInstance());
                    }
                    catch (Throwable ex) {
                        throw new ServletException("Failed to instantiate WebApplicationInitializer class", ex);
                    }
                }
            }
        }

        if (initializers.isEmpty()) {
            servletContext.log("No Spring WebApplicationInitializer types detected on classpath");
            return;
        }

        servletContext.log(initializers.size() + " Spring WebApplicationInitializers detected on classpath");
        AnnotationAwareOrderComparator.sort(initializers);
        for (WebApplicationInitializer initializer : initializers) {
            initializer.onStartup(servletContext);
        }
    }
}
我如何把它装载起来呢?必须放到 WEB-INF/lib 下边
Spring Boot 里边有一个插件
1
2
3
4
5
6
7
8
<build>
	<plugins>
    	<plugin>
        	<groupId>org.springframework.boot</groupId>
        	<artifactId>spring-boot-maven-plugin</artifactId>
        </plugin>
    </plugins>
</build>
Spring boot 打包成 jar 包,java -jar 就可以了
Tomcat 对应 Servlet 版本
- Tomcat 6.x 实现 Servlet 2.5 规范
- Tomcat 7.x 实现 Servlet 3.0 规范(*)
- Tomcat 8.x 实现 Servlet 3.1 规范
- Tomcat 9.x 实现 Servlet 4.0 规范
1
2
3
4
5
6
7
8
9
10
11
12
13
14
15
16
17
18
<!-- tomcat 7 打包的方式的插件 -->
<plugin>
    <groupId>org.apache.tomcat.maven</groupId>
    <artifactId>tomcat7-maven-plugin</artifactId>
    <version>2.1</version>
    <executions>
        <execution>
            <id>tomcat-run</id>
            <goals>
                <goal>exec-war-only</goal>
            </goals>
            <phase>package</phase>
            <configuration>
                <path>foo</path>
            </configuration>
        </execution>
    </executions>
</plugin>
- Spring boot 打包的东西
.jar可执行的.jar.orginal源信息
- tomcat 插件打包的东西
.war源信息.war.exec.jar可执行的
找个一空的 WebApp 放进去。就行了
http://localhost:8080/foo
我可以不用 Spring boot 也可以达到自动装配 Spring MVC 的效果,
所以 Spring Boot 并不是特别的牛逼。
实现了不写 web.xml 自动装配了,
实现了 java -jar 启动。
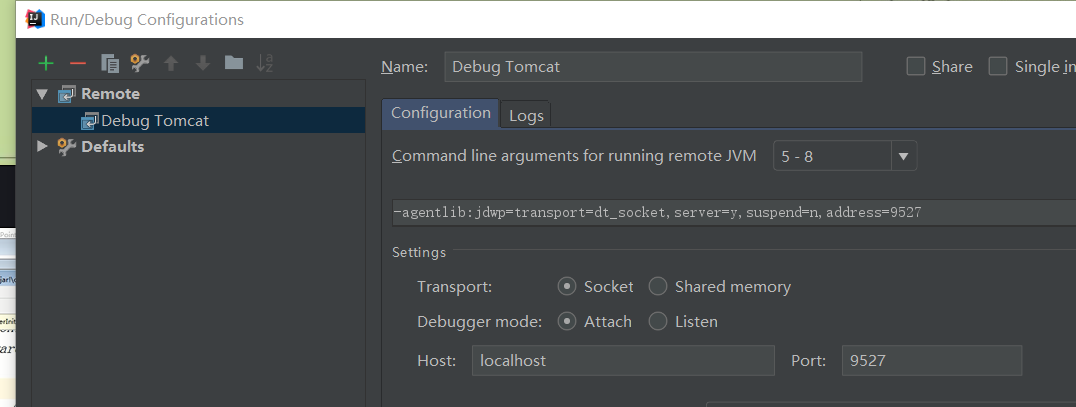
如何调试。

java -jar
-agentlib:jdwp=transport=dt_socket,server=y,suspend=y,address=9527
阻塞
1
2
D:\GuPao_IDEA_xiaomage_workspace\GP-public\spring-webmvc-autoconfig\target>java -jar -agentlib:jdwp=transport=dt_socket,server=y,suspend=y,address=9527 spring-webmvc-autoconfig-1.0-SNAPSHOT-war-exec.jar
Listening for transport dt_socket at address: 9527
先启动 jar, 再 Debug 进行调试


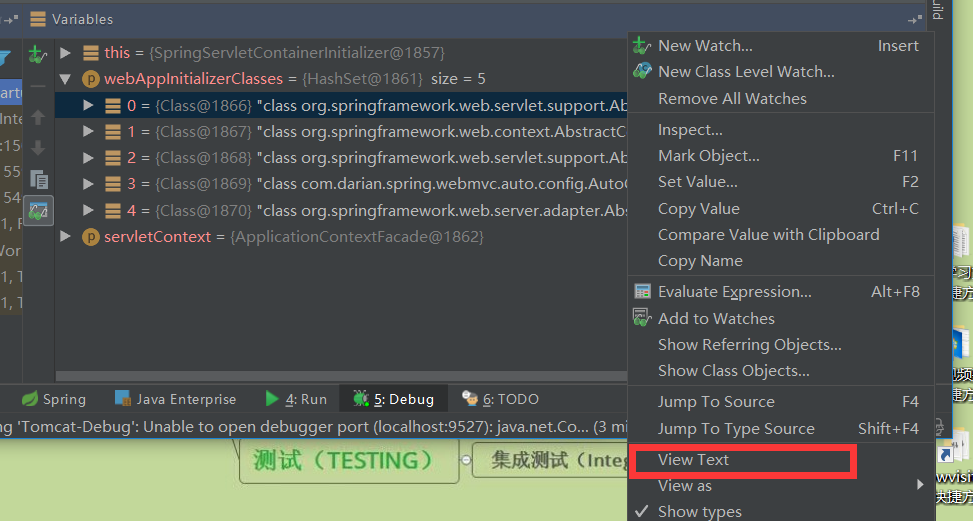
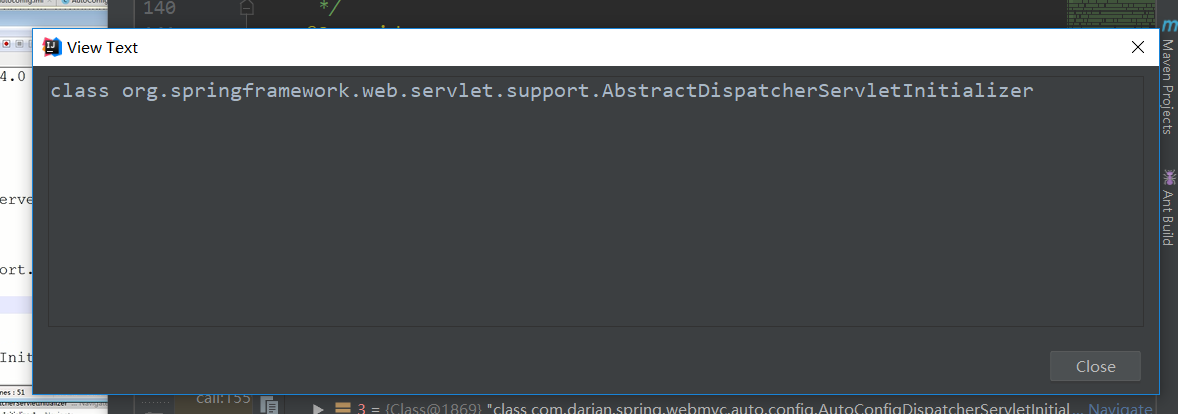
org.springframework.web.servlet.support.AbstractDispatcherServletInitializerorg.springframework.web.context.AbstractContextLoaderInitializer-
org.springframework.web.servlet.support.AbstractAnnotationConfigDispatcherServletInitializer com.darian.spring.webmvc.auto.config.AutoConfigDispatcherServletInitializer( 自己实现的)org.springframework.web.server.adapter.AbstractReactiveWebInitializer
不是抽象类,最后把 AutoConfigDispatcherServletInitializer 注册进行。
嵌入式 Tomcat 、Netty 2011年都用了
Tomcat 在某一个版本实现了嵌入式的 Tomcat
org.apache.catalina.startup.Tomcat Tomcat 的 API,Spring boot 也是基于这个 Tomcat 的 API 进行编程的。
条件装配
Spring 条件装配
@Conditional
实现 Spring Boot @conditionalOnClass
Spring boot 源码
1
2
3
4
5
6
7
8
9
10
@Target({ElementType.TYPE, ElementType.METHOD})
@Retention(RetentionPolicy.RUNTIME)
@Documented
// 存在>>装配, 不存在>>不装配
@Conditional({OnClassCondition.class})
public @interface ConditionalOnClass {
    Class<?>[] value() default {};

    String[] name() default {};
}
DispatcherServletAutoConfiguration
1
2
3
4
5
@ConditionalOnClass({DispatcherServlet.class})
@AutoConfigureAfter({ServletWebServerFactoryAutoConfiguration.class})
public class DispatcherServletAutoConfiguration {
	...
}
DispatcherServlet 是在 Spring MVC 这个包里边,有可能不存在,有可能是没有引入的,所以类不存在的时候,是不能引入的。
org.springframework.boot.autoconfigure.condition.ConditionalOnClass
1
2
3
4
5
6
public @interface ConditionalOnClass {
    Class<?>[] value() default {};

    // 为什么要用名称,
    String[] name() default {};
}
@ConditionOnClass(ABC.class) 可能会打包不通过,但是这个类可能放到二方包里边去打包,因为 二方包 里边有依赖,假设,
ABC.class 在 xxx.jar
123.jar 里边引入了 ABC.class -> 间接的依赖了 xxx.jar
123.jar -> xxx.jar
还有可能 <Exclusion> 掉了,就不能通过了,就可以用
1
2
3
// 这里是试探性的引入,
@ConditionalOnClass(name = "org.apache.tomcat.jdbc.pool.DataSourceProxy")
protected static class TomcatDataSourceJmxConfiguration {